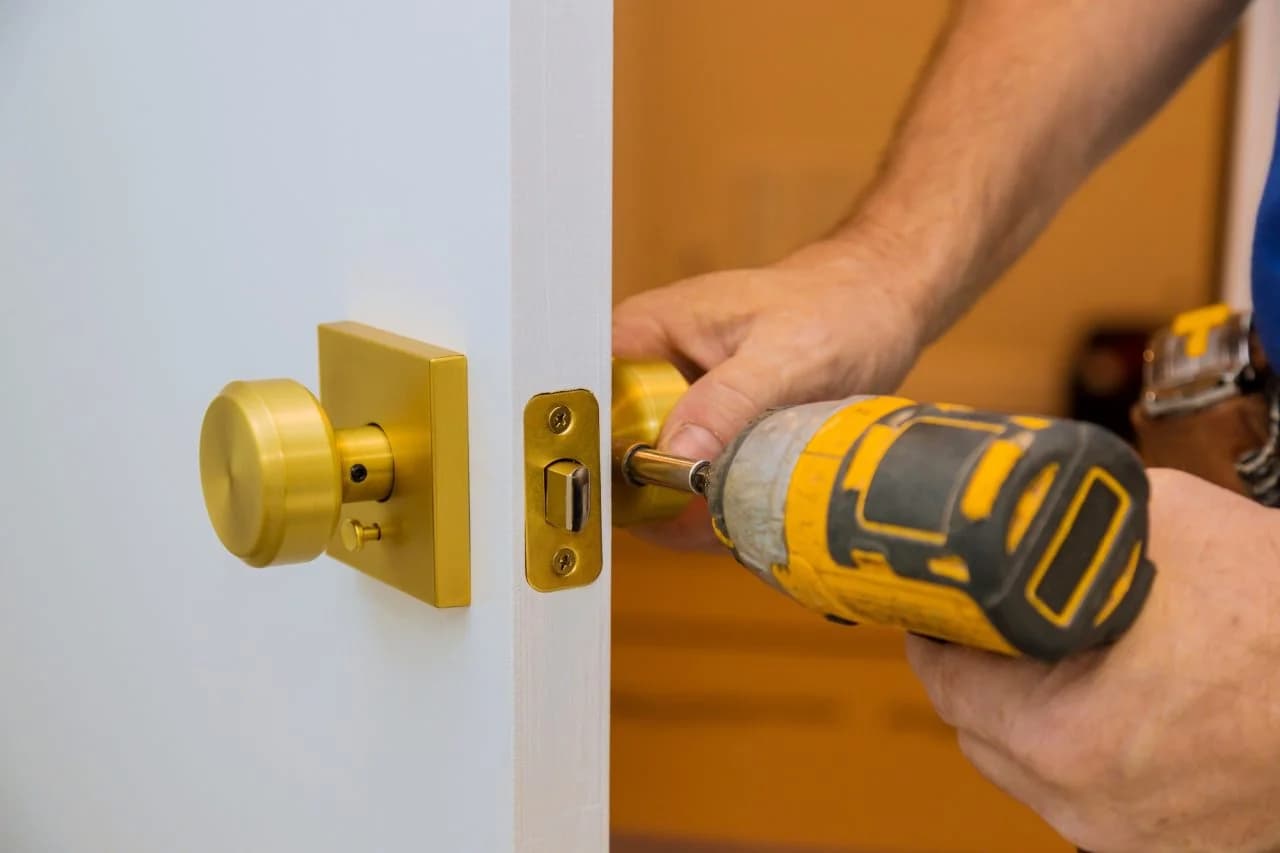
People call us to install a lock and often expect us to be gone in five minutes. A quality lock installation is quick in experienced hands, but there's real craft behind it—and knowing what happens helps you tell a proper job from a rushed one.
Whether you're securing a triple-decker in Boston or a single-family home in Brookline, here's exactly what a professional installation looks like from the moment we knock on your door.
Step 1: On-Site Assessment
Before any tools come out, a good locksmith looks at the whole picture. We check the condition of your door and frame, the hardware you already have, and how the door hangs. A hollow apartment door, a solid-core exterior door, and a historic Boston door from the 1900s all call for different approaches.
This is also where we talk security honestly. Not every door needs a $300 high-security deadbolt, and not every budget lock is worth installing. We recommend the right ANSI grade for the opening—not the most expensive thing on the truck.
Step 2: Measuring the Door Prep
Locks fail early when they're installed sloppily. So before drilling or mounting anything, we measure. The three numbers that matter most are the door thickness, the backset (the distance from the door edge to the center of the bore hole), and the bore-hole diameter.
If your door is already prepped for a standard lock, this goes fast. If we're adding a brand-new deadbolt to a door that never had one, we mark and drill the bore and edge holes precisely using a jig—rushing this step is how you end up with a bolt that binds or a lock that sits crooked.
Step 3: Removing the Old Hardware
If we're replacing an existing lock, we remove it carefully to avoid scratching the door face or stripping screw holes. This is also our chance to inspect the door edge and frame. We frequently find old strike plates held on by half-inch screws, splintered frames from a past break-in attempt, or paint-clogged mortises that need cleaning out.
If your existing hardware is actually fine and you just want to control who has keys, we'll tell you—sometimes a simple rekey is smarter and cheaper than a full replacement.
Step 4: Installing and Aligning the New Lock
Now the new lock goes in. We mount the cylinder and bolt mechanism, install the interior thumbturn or knob, and—critically—align the bolt to the strike. A deadbolt that doesn't throw fully into the frame is barely more secure than no deadbolt at all.
The single biggest upgrade in any installation is the strike plate. We swap short screws for three-inch screws that bite into the wall stud behind the frame, not just the thin trim. This one detail dramatically increases how much force your door can resist during a kick-in.
Step 5: Testing, Keying, and Handoff
Before we call it done, we cycle the lock dozens of times—locked, unlocked, from both sides, with the door open and closed—to confirm smooth, reliable operation. If you asked to have your new lock keyed alike to your other doors, we re-pin the cylinder so one key runs your whole home.
Finally, we clean up, hand you your keys, walk you through how everything works, and explain the hardware warranty. You should never be left guessing about what was installed or how to use it.
City Locksmith 24/7 is a Commonwealth-registered business that's installed and serviced locks across Greater Boston for over 15 years. Learn more about how we work, or call (617) 383-7290 to schedule a professional installation—we also handle full residential security upgrades.